Be Patriotic and Crafty for July 4th with a DIY Wood Flag (make it in a few hours)


Supplies
Wood: 1 1/2" wide (I used three 8' boards)
1 thin piece of wood for the star section
2 pieces wood to secure back. (1/2" to 1" wide and a little shorter than the height of your flag)
Chalk Paint (Red, White, Blue)
Stars cut out in Cricut vinyl, Star stencils, etc
Wood Glue or E6000
Hammer/Nails
Sand Paper

Quick tip: I wasn't sure how big I wanted my flag to be, so I grabbed a large piece of cardboard to help me visualize it. Using 1 1/2" for each stripe, I measured it out and then drew it to scale on the cardboard. This helped me determine how many stripes I wanted and how big the star section needed to be.

For the Stripes

I made my flag 17 1/2" wide x 11 1/2" tall. For this size, I cut 7 pieces (17 1/2" wide). If you want your flag bigger, you'll need to cut additional pieces.

Painted the top and sides of each: 4 Red Stripes & 3 White Stripes. (I painted the back later after it was assembled.)

I wanted a little bit of space between each of the stripes so I set it face down on the workbench and eyeballed it (yes, that's my technical term). Made sure everything was straight (used a square to make sure it lined up). Glued two pieces of scrap wood on the back (10 1/2 inches tall) to hold the pieces together. Let it dry and afterwards, I also nailed it so it would be stable (and if I wanted to hang it later, I could add wire between these pieces of wood)

Painted the entire back the same color (I used red), being careful not to get any paint on the outside of the flag.

For the Stars

For the base I painted a thin scrap piece of wood (around 6" wide x 4 1/2" tall) with the white chalk paint.

I used my Cricut to cut out 1" stars in vinyl (Used the Cricut Vinyl brand. I had never tried it before - was very impressed - easy to use and it made very crisp edges). You can also use star stencils or even hand paint them.

I placed the vinyl stars onto the white background in three rows of three (you can make any design you want - different size stars, random patterns). After sticking the vinyl stars onto the wood, I gently painted the entire board with the blue chalk paint (right over the star pattern). Let it dry (At least 20 minutes) and then I gently peeled up the stars from the background (Used tweezers for this). The white stars were shining out of the blue background. Only needed to touch up a couple areas.


Glued the wood into the top left corner.

Used sand paper to distress the entire board. Wanted it looking a bit rustic.


Happy 4th!
Love, Steph


Excellent Adventures: London: Kensington Palace


A little day out at Kensington Palace, home to royalty for over 300 years. 
And a current home to William & Catherine and many other royals.
(their quarters were in a private section of the palace so we weren't able to view them)


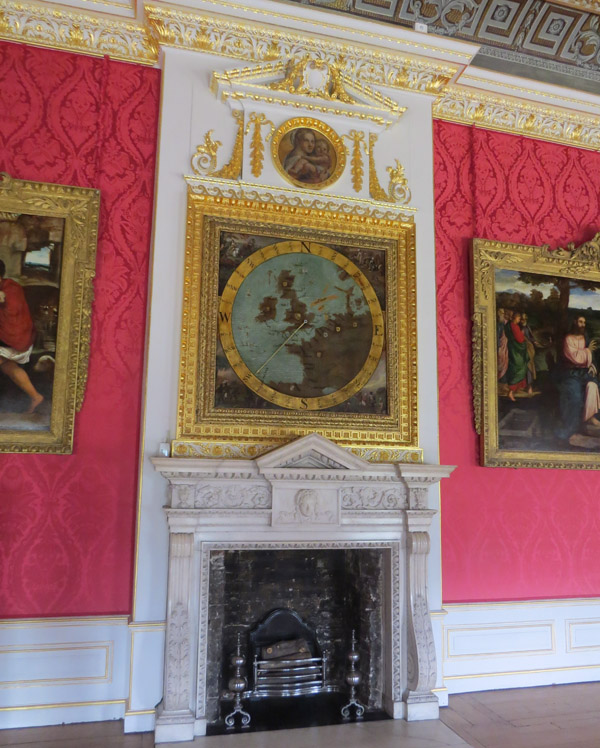
King's & Queen's State Apartment...How'd you like to get through a door in this dress?


Fashion Rules Exhibition with dresses from Queen Elizabeth,
Princess Margaret and Princess Diana. 


Palace Sunken Gardens - just a small backyard.


 I want this for my backyard.

Afternoon Tea at the Queen Anne Orangery - so yummy.
And because the weather was beautiful, we got to sit outside.

Happy Adventures this summer!
Love, Steph