

Showing posts with label Office. Show all posts
Showing posts with label Office. Show all posts
DIY for the Office - Transform Magazine Holders into Recycle & Shred Boxes
I love to recycle, but I don't necessary love the blue plastic bins for recycling. NOT. CUTE.
I made a cheery recycling box for under my kitchen sink here and that made me realize I needed to create something for my office. Throwing paper into piles on the floor wasn't really working very well any more.
I spend quite a bit of time at my office desk and typically have a ginormous pile of paper that needs my attention. I wanted a quick (and stylish) way to sort papers. A place to put papers to recycle and a place to put items to shred. At my fingertips.

Supplies
Two wooden magazine holders (got mine at Ikea)
Spray Paint
Scrapbook or Decorative Paper
Bookplates or something to hold labels
Mod Podge
Primed and Sprayed wood magazine holders.


Cut paper to fit the front of each of the holders and Mod Podged it. (used a few coats)

Printed up labels onto scrapbook paper.

Attached Bookplates.
These were adhesive but you could also use screw on label holders, etc.
These were adhesive but you could also use screw on label holders, etc.

Let the recycling and shredding begin.

What a great feeling to get RID OF PAPER.
Happy Organizing!
Love, Steph

Practical Storage for Electronic Bits & Pieces


 label maker to print out individual labels.
Happy Organizing! Love, Steph

Stay in Touch by following me on...
Create a Custom & Cute Computer Shelf in a few hours

I don't know about you, but I NEVER have enough room on my desk. Papers seem to multiply and even with having my keyboard and mouse under the desk, I still felt like I didn't have any working space.
So, I decided to create my own computer shelf and, of course, it couldn't be boring AND had to match the chocolate/teal colors in my office. Hit Home Depot and a scrapbook store to get started.
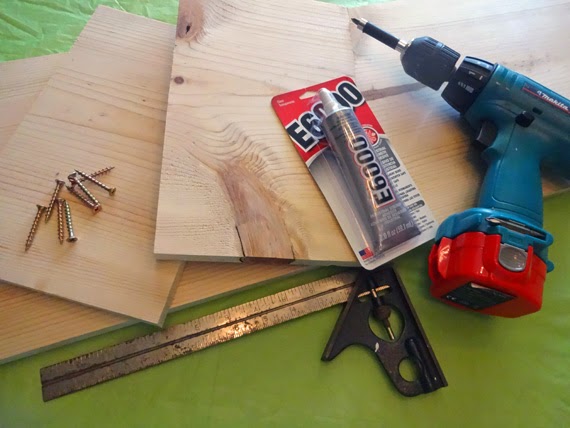
Supplies
- Board (6' long x 12"wide x 1" thick)
- 8 Screws (at least 1 1/2 inches long)
- Glue (used E6000 but any type of wood glue would work also)
- Square (to make sure it was square - haha)
- My trusty Makita Drill/Screwdriver
- Scrapbook Paper (at least 15-20 sheets of coordinating colors/patterns)
- Mod Podge & Foam Brush
- Heat Gun (optional, but it helped with the drying time)
- Adhesive Felt Pads


Hope the creative bug hits you this week! Love, Steph
Stay in Touch by following me on...


Subscribe to:
Posts (Atom)