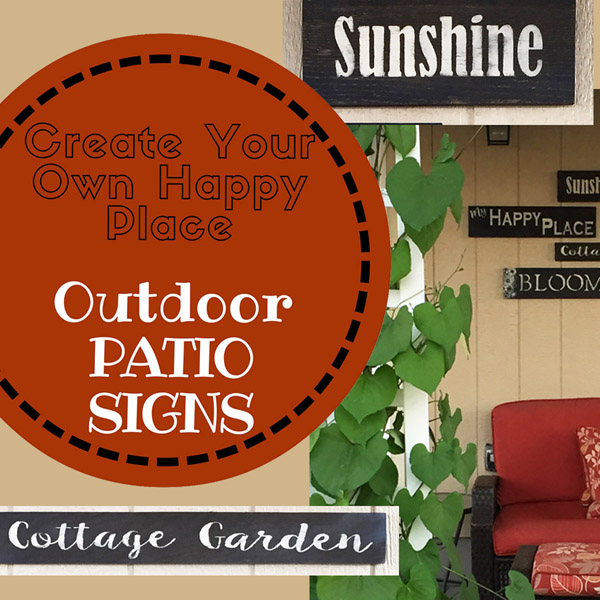
Create your own little happy nook with some DIY Signs. We all need a place for ourselves. I created mine next to my newly planted Cottage Garden (it's a tiny garden now, but it'll grow). I love sitting out there and just enjoying the flowers and sunshine. You can create yours inside or outside - as long as it's a place you can go to and find relaxation and peace.
Start by picking a few phrases that make you smile. Little reminders or happy things that take you to a special cocoon inside a busy bustling world. This may take a few days - enjoy the process of identifying those words or phrases that give you a feeling of bliss. Then start creating your signs - here's the process I used...
Picked a bunch of random sized wood. I first stained the wood with a mixture of Tea/Coffee and then used a Vinegar/Steel Wool mix to Oxidize it (instructions here). You could also use any color of stain or paint.
Stencils - I cut out phrases on my Silhouette (this gave me the most options of fonts and sizes). I also had some plastic letter stencils. (You can also just purchase pre-made stencil phrases at any craft store). To position the stencils, I did some measuring and dividing (please, no more math) and then used a white Stabilo pencil (or any pencil that you can easily wipe off later), to mark the wood to help line up the stencil.
Taped down stencil with painters tape. To hold down some of the little inside edges of the letters I used my a clear tape runner.
I used Acrylic Paint (Titan Buff) and a make-up sponge. You don't need any fancy tools or daubers. The secret is to lightly dab your sponge into the paint and then lightly dab your stencils. Take your time and do several layers. This way the paint doesn't seep under the edge of the stencil and you get messy and blobby (yes, that's my technical term) edges. Patience and lightness is the key.
Once the paint is dry, I gently lifted the stencil off the wood. If needed, you can fix anything with a small paint brush. Once it was really dry, I gently wiped off the white guide marks.
Even though these will be hung in my covered patio, I still wanted to protect them from the elements. I used a product called NeverWet. After applying this, I sprayed several coats of clear matte finish and let them dry thoroughly.
To help determine the layout, I placed the signs on my floor, moved them around, and took pictures until I found the one I liked best. This helped me when I was outside hanging them - I just referred to the photo for the layout and spacing.
I'm experimenting with the hanging method. I may add more signs in the future so I don't want to have nail marks all over the side of my home. I put a bunch (4-5 per sign) of Velcro Command Strips on the back of each of the signs. So with my photo of the layout, the signs and a level, I stuck them on the patio wall.
Project Steps
Select Happy Phrases
Pick and Stain Wood
Select and/or Cut out Stencil
Paint
Seal
Hang
Enjoy
Hope you find your very own Happy Place!
Love, Steph


